
















Your first microneedling appointment can bring a mix of curiosity and nerves. Will it hurt? How red will your skin look afterward? And how long will it take to know whether it worked?
Knowing what happens before, during, and after treatment makes those questions easier to navigate. Microneedling uses fine needles to create controlled injuries in the skin, which prompt a repair response and support collagen production. The treatment can improve certain texture concerns, but results take time, and the recovery period deserves some planning.
Here is what to expect, how to prepare, and which questions to ask before you begin.
What Microneedling Can and Cannot Do
Microneedling is used for skin rejuvenation, particularly concerns such as acne scars, uneven texture, fine lines, and the appearance of enlarged pores. It may also help some pigmentation concerns, although the cause of discoloration matters. Not every dark spot is suitable for the same treatment.
The needles create small channels at a controlled depth. As the skin repairs itself, collagen and elastin remodeling can gradually change its texture and firmness. Providers adjust treatment depth according to the area, skin characteristics, and goals.
That flexibility matters. The forehead does not have the same thickness as the cheeks, and treating a shallow texture concern is different from treating an acne scar.
Microneedling has limits, too. It does not erase deep wrinkles, remove every scar, or stop skin aging. Some scars respond better to a combination of treatments. A useful consultation should explain what improvement is realistic for your skin, rather than promise a completely smooth result.
Start With a Consultation, Not a Treatment Date
Before scheduling, make sure the provider assesses your skin and reviews your health history. A first appointment may include both consultation and treatment, but proceeding should depend on that assessment.
Bring a list of your skin-care products and medications, including supplements and prescription creams. Photos of product labels can be easier than trying to remember ingredient names.
Mention any history of cold sores, eczema, rosacea, poor wound healing, unusual scars, or reactions to numbing creams. Disclose medicines that affect bleeding, immune function, or healing, as well as current or previous isotretinoin use. Do not stop prescribed medication on your own.
Active infections, open wounds, inflamed acne in the treatment area, or a flare of certain skin conditions may mean postponing treatment. A tendency toward keloid scarring also needs careful assessment. Elective microneedling is generally deferred during pregnancy because safety information is limited and associated products or anesthetics may require extra consideration.
If you get cold sores, treatment around the mouth may trigger an outbreak. Ask whether preventive antiviral medication is appropriate.
It is also reasonable to ask who performs the procedure, what training they have, and how sterile, single-use needle cartridges are handled. These are basic safety questions.
How to Prepare Before Your Appointment
Preparation is mostly about avoiding irritation. Calm, well-moisturized skin is a better starting point than skin that is sunburned, freshly exfoliated, or already stinging.
One to Two Weeks Before
Ask for a written preparation plan. Products such as retinoids, exfoliating acids, scrubs, cleansing brushes, and at-home peels may need to be paused, but the timing depends on your skin and treatment plan.
A stronger routine is not better preparation. Keep cleansing gentle, use a basic moisturizer, and avoid introducing unfamiliar products.
Avoid tanning beds and prolonged unprotected sun exposure. If you develop sunburn, a rash, or a new breakout near the appointment, contact the provider. Rescheduling can be safer than treating irritated skin.
Stay normally hydrated, but there is no need to drink excessive amounts of water. Extra water cannot compensate for an irritated skin barrier.
The Final 48 Hours
Follow the provider’s guidance about alcohol, strenuous exercise, and hair removal. Alcohol can contribute to flushing and may increase bruising in some people. Heavy sweating can irritate sensitive skin.
Waxing, threading, and close shaving may leave the treatment area irritated, so ask how far ahead to stop them. The appropriate interval can differ by method and skin sensitivity.
Keep your routine simple. Skip a last-minute exfoliating mask or “deep clean.” Skin does not need to be scrubbed into readiness.
Appointment Day
Ask whether you should arrive with a bare face and how to handle sunscreen during travel. Many providers prefer clean skin without makeup or lotions, then cleanse the area again before treatment. Protect yourself outdoors with shade and a hat if instructed to avoid products beforehand.
A light meal may help you feel more comfortable, especially if you tend to feel faint during procedures. Wear loose clothing if the neck, chest, or another body area will be treated.
Try not to schedule the appointment immediately before an important event. Redness is expected, and your skin may need several days before makeup feels comfortable again.
What Happens During Treatment?
Many appointments take about 30 to 60 minutes, although a first visit or a larger treatment area can take longer. Ask whether the quoted time includes consultation and numbing.
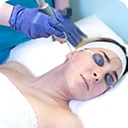
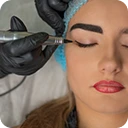
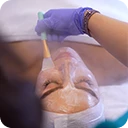
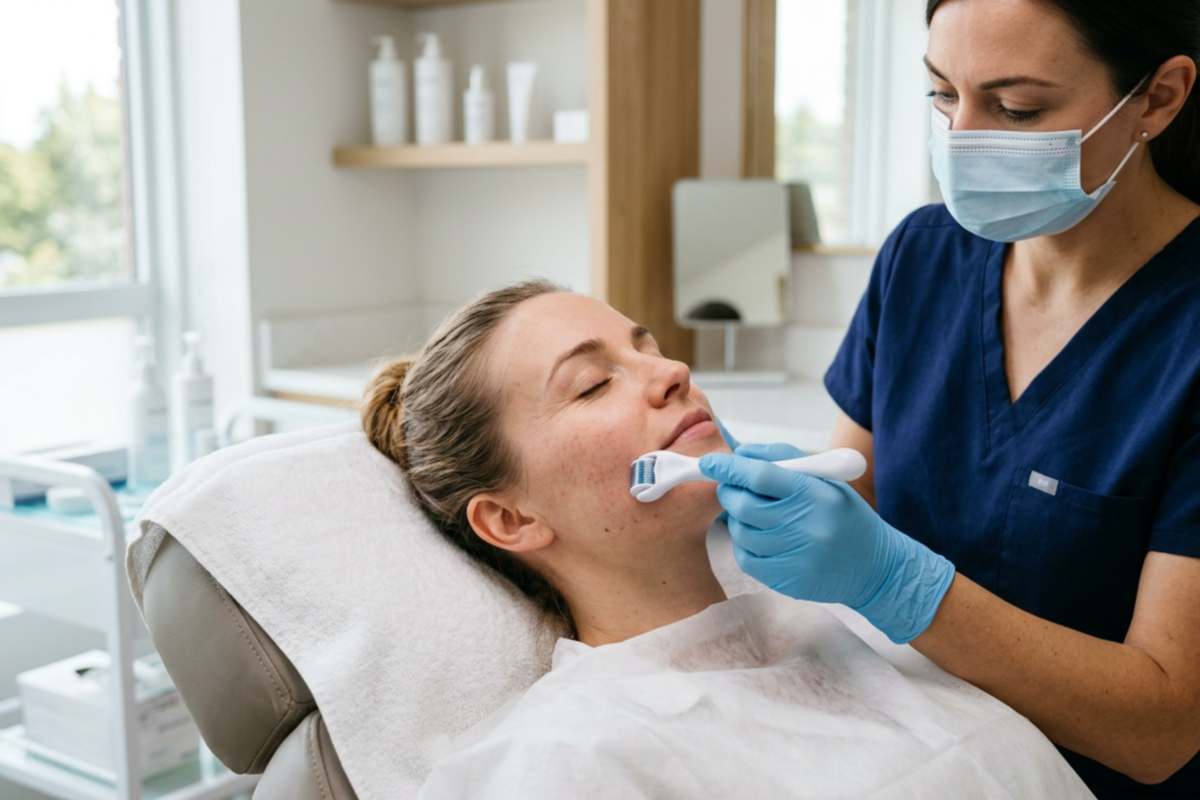
The provider first examines and cleanses your skin. A topical anesthetic is commonly applied and left in place long enough to reduce sensation, then removed before treatment.
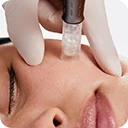
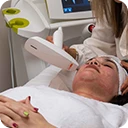
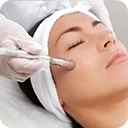
The device moves across the skin in sections. Needle depth and the number of passes depend on the treatment area, your skin’s response, and the concern being addressed. Deeper scar treatment may involve more discomfort and downtime than a lighter session.
You may feel pressure, vibration, or prickling. Some areas, particularly the forehead and around bony contours, can feel more sensitive than the cheeks.
Numbing helps, but it does not guarantee a sensation-free procedure. Tell the provider if discomfort becomes difficult to tolerate. They may be able to pause or adjust treatment.
Afterward, the provider checks the skin and may apply an appropriate calming product. Ask what is being used. Products suitable for everyday skin care are not automatically suitable for freshly treated skin.
What Your Skin May Look and Feel Like Afterward
Redness, warmth, tightness, and mild swelling are common immediately after treatment. The sensation is often compared with a mild sunburn. Small amounts of pinpoint bleeding can occur, depending on treatment depth.
Redness and warmth often improve within 24 to 48 hours, but that is not a deadline. Deeper treatment or more reactive skin can take longer to settle. Mild dryness, flaking, or sensitivity may continue for several days.
Early swelling can temporarily make skin look smoother or fuller. That is not the same as a lasting collagen result. Try to judge progress after the skin has recovered, rather than by how it looks the next morning.
Aftercare: Give Your Skin Time to Recover
Your provider’s individualized instructions should guide recovery. Aftercare can vary with needle depth, the device used, and any other treatment performed at the same visit.
During the First 24 to 48 Hours
Use only the cleanser, moisturizer, and other products your provider approves. Ask when to begin cleansing and applying sunscreen, since immediate post-treatment instructions vary.
When cleansing is permitted, use clean hands, lukewarm water, and a gentle touch. Pat dry rather than rubbing.
Avoid makeup and tinted products until your provider says they are appropriate. Even familiar products can sting or introduce contaminants while the skin barrier is recovering.
Exercise, heavy sweating, saunas, steam rooms, and hot showers can intensify heat and irritation. Pause them for the recommended period. Avoid swimming until cleared as well.
Limit sun exposure. Shade and a broad-brimmed hat are useful, particularly before you can comfortably apply an approved sunscreen.
During Days Three Through Seven
Mild flaking or dryness may appear as redness fades. Resist picking, scrubbing, or trying to speed the process with exfoliation.
Continue moisturizing as directed. If a product stings, stop using it and ask the provider what to do next.
Makeup may be suitable once the skin surface has recovered and significant irritation has settled, often after several days. Follow the timeline you were given and use clean brushes or applicators.
Resume retinoids, exfoliating acids, and other active products only when cleared. Your skin feeling better does not necessarily mean it is ready for your full routine.
Once approved, use broad-spectrum sunscreen with SPF 30 or higher daily. Sun protection helps reduce the risk of post-inflammatory discoloration, which can occur in any skin tone.
When to Contact the Provider
Some redness is expected. Worsening symptoms should not be dismissed as routine recovery.
Contact the provider promptly if you notice:
-
Redness, warmth, swelling, or pain that increases rather than improves.
-
Pus, spreading redness, fever, or other signs of infection.
-
New blisters or a cold sore outbreak.
-
Persistent irritation or new dark or light patches.
Trouble breathing or sudden severe facial swelling requires emergency medical care. Do not wait for a routine follow-up.
Before leaving your appointment, make sure you know whom to contact with concerns and what to do outside normal clinic hours.
When Will You See Results?
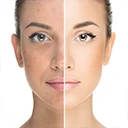
Collagen remodeling happens over weeks and months. One session may produce modest improvement in texture or brightness, but acne scars and fine lines often need a series.
Initial treatments are commonly spaced about four to six weeks apart. Deeper treatments may need longer intervals. Maintenance is sometimes scheduled every three to six months, but it is not an automatic requirement for everyone.
Your response depends on the concern, treatment technique, skin characteristics, and aftercare. Repeated sessions can produce more improvement than one session, but additional treatments do not guarantee a particular result.
Take progress photos in consistent lighting after recovery. Daily mirror checks can make gradual changes hard to notice, while standardized photos give you and the provider a more useful comparison.
Planning for Cost and Downtime
In Vancouver, microneedling costs vary by provider, treatment area, treatment type, and the number of sessions recommended. Ask for an itemized estimate and confirm whether follow-up visits or aftercare products cost extra.
Clarify exactly which procedure is proposed. Conventional microneedling and radiofrequency microneedling are different treatments, with different risks, recovery needs, and pricing.
For downtime, plan conservatively. You may feel ready for ordinary activities quickly, but visible redness and product sensitivity can outlast the first day. A quiet recovery window is easier than hoping your skin will meet a social deadline.
Your first appointment should leave you with more than a treatment completed. You should understand why it was suitable, how to care for your skin, and what improvement is reasonable to expect. Good preparation and clear communication make that process much less uncertain.